Change the language of your widget display according to your Audience’s language to draw their attention to what you really wanna convey to them.
Use the simple steps below:
Taggbox Dashboard
First, Login to your Taggbox Widget Account. You’ll see your widget dashboard like this:
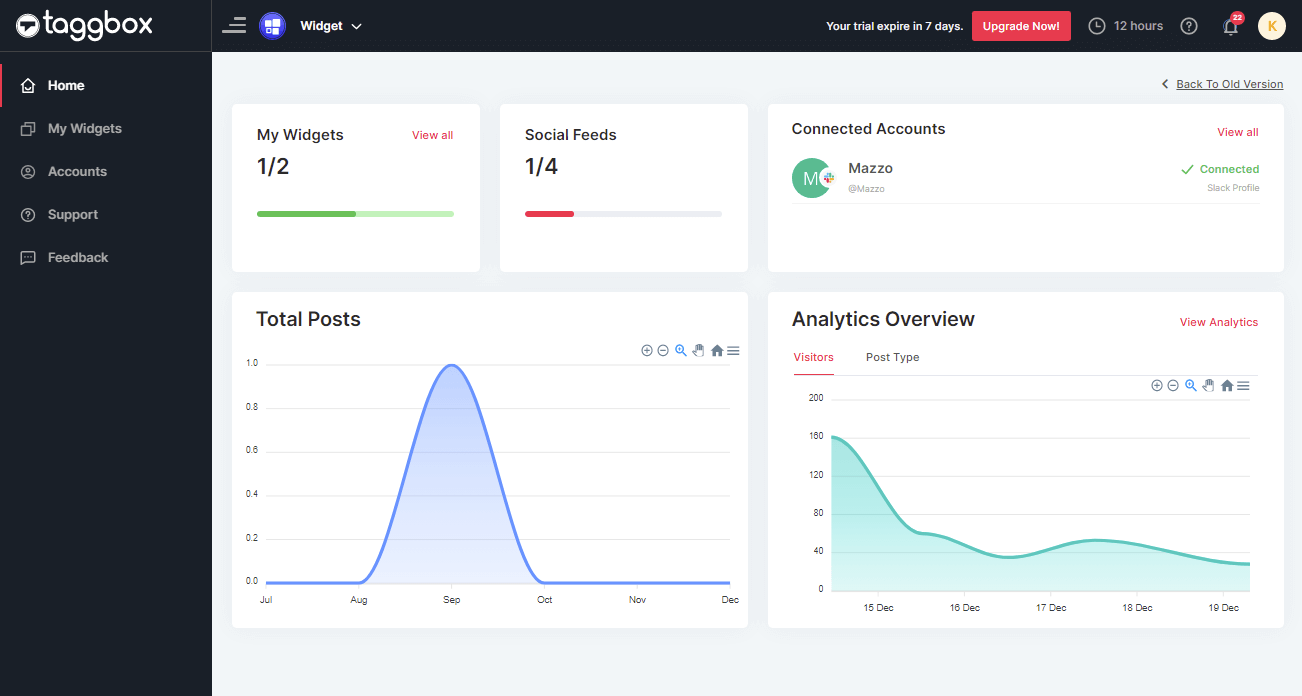
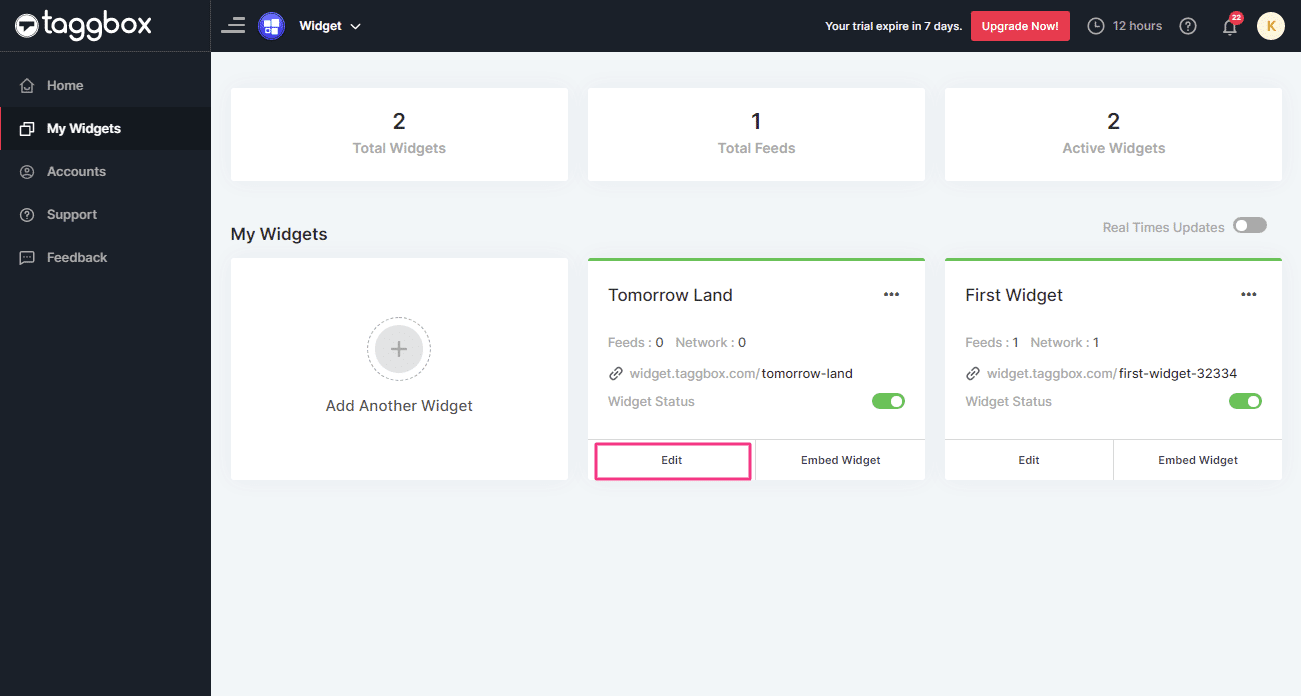
Now, on the left menu panel click on My Widget. To open the list of widgets you’ve created.
Choose your widget and click on Edit button
Change Language
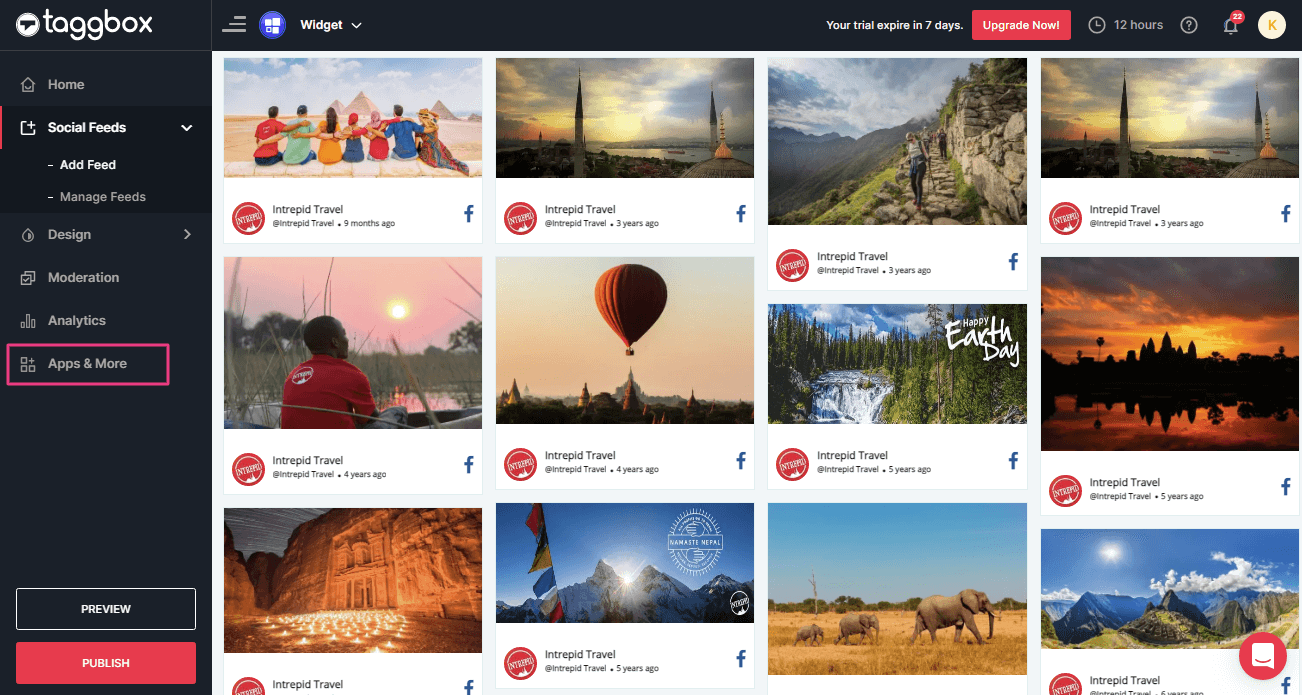
Now, on the widget editor, you’ll see Apps & More option on the left menu panel. Click on it to open the Change Language option for your Taggbox Widget.
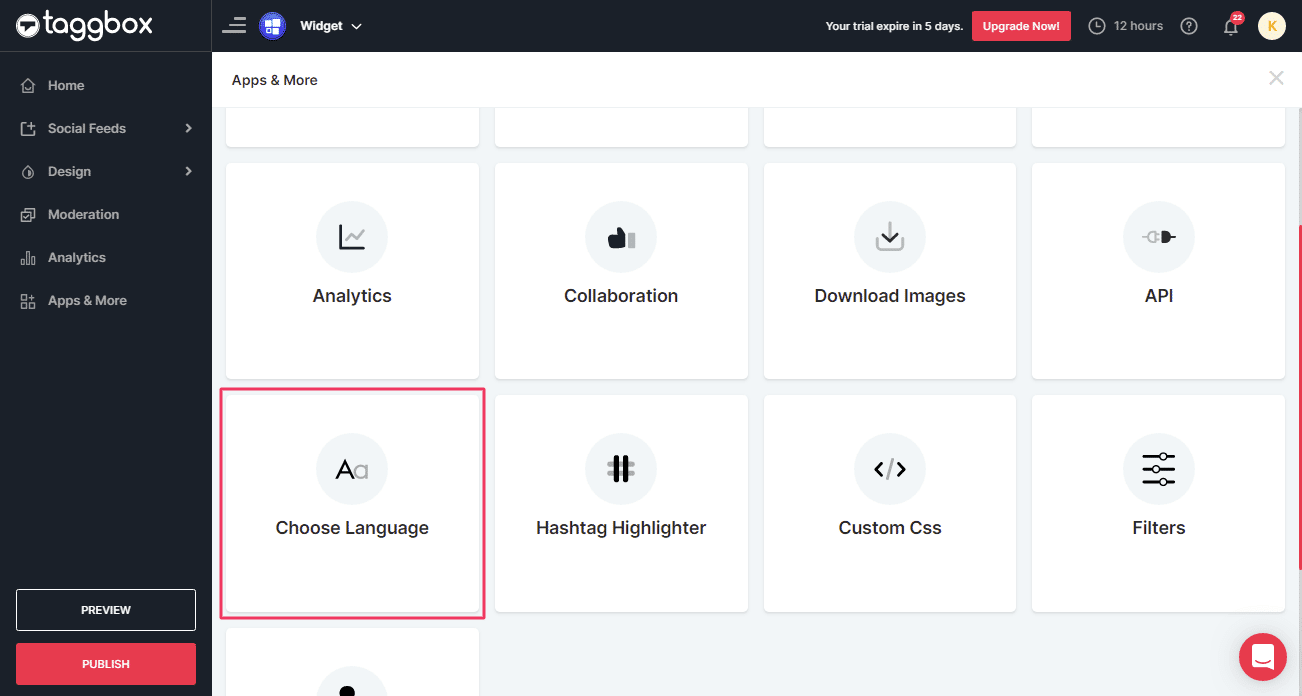
After clicking on the Apps & More tab, you will see a new window. Scroll down and select the “Choose Language” option.
Select Language
Now, select your desired language to enable the language according to your need.
Choosing the desired language helps you to connect with your Country’s specific audience and to show the social widget in your website visitors’ preferred language.
Here you will see two options, one is Languages and the other one is Custom.

Option 1: Languages
On the Language tab and you will find multiple language options. Choose your suitable language and click on the Apply button to make it effective.
For example:
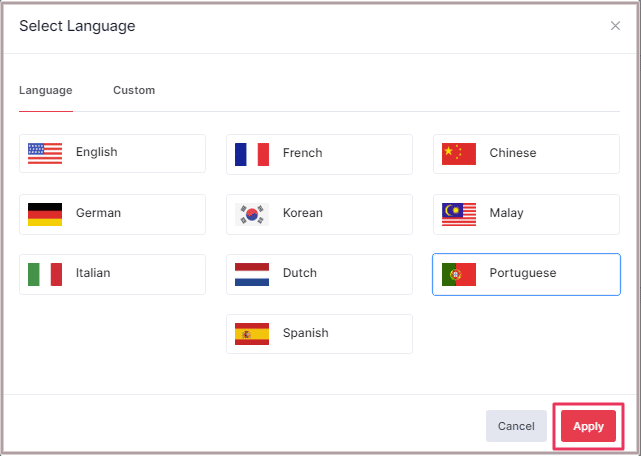
Your suitable language in the Language tab is not available? No need to worry. You can use the Custom option to set your feeds widget language accordingly.
Option 2: Custom
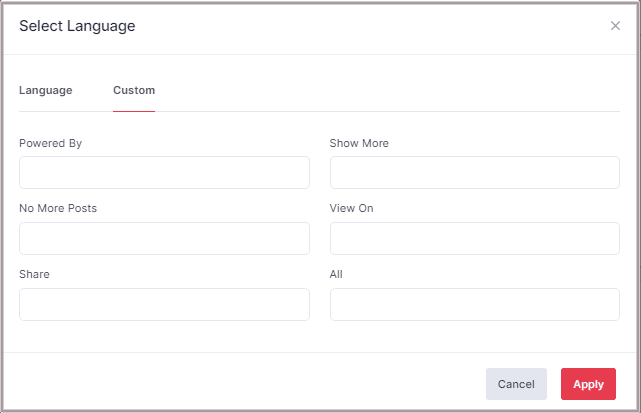
In this tab, you can use your own custom language for your social widget. Here you can set a custom language for:
Powered By, Show More, No More Posts, View On, Share and All.
If you want to set these options in some other language. Like for example in the Russian language then just fill all the input box in the Russian language.
Now, click APPLY button to make it effective.
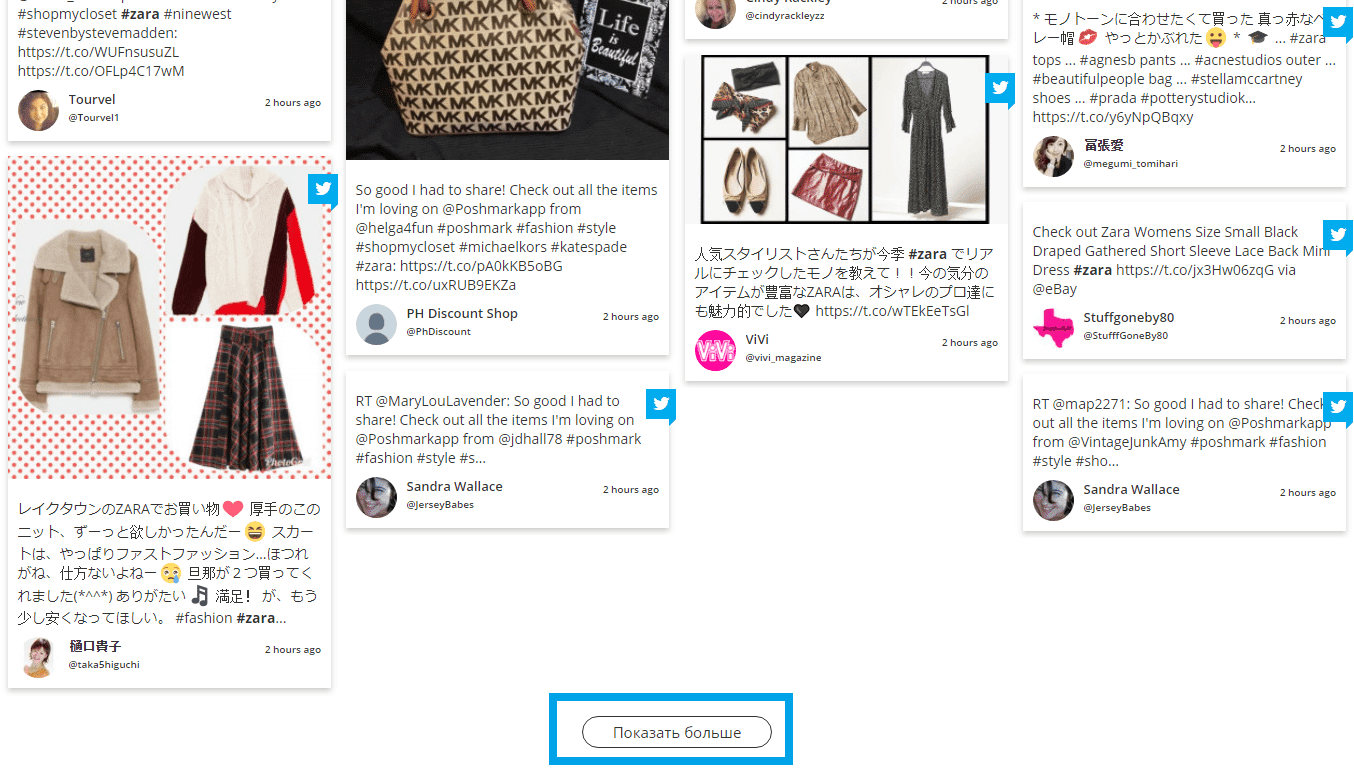
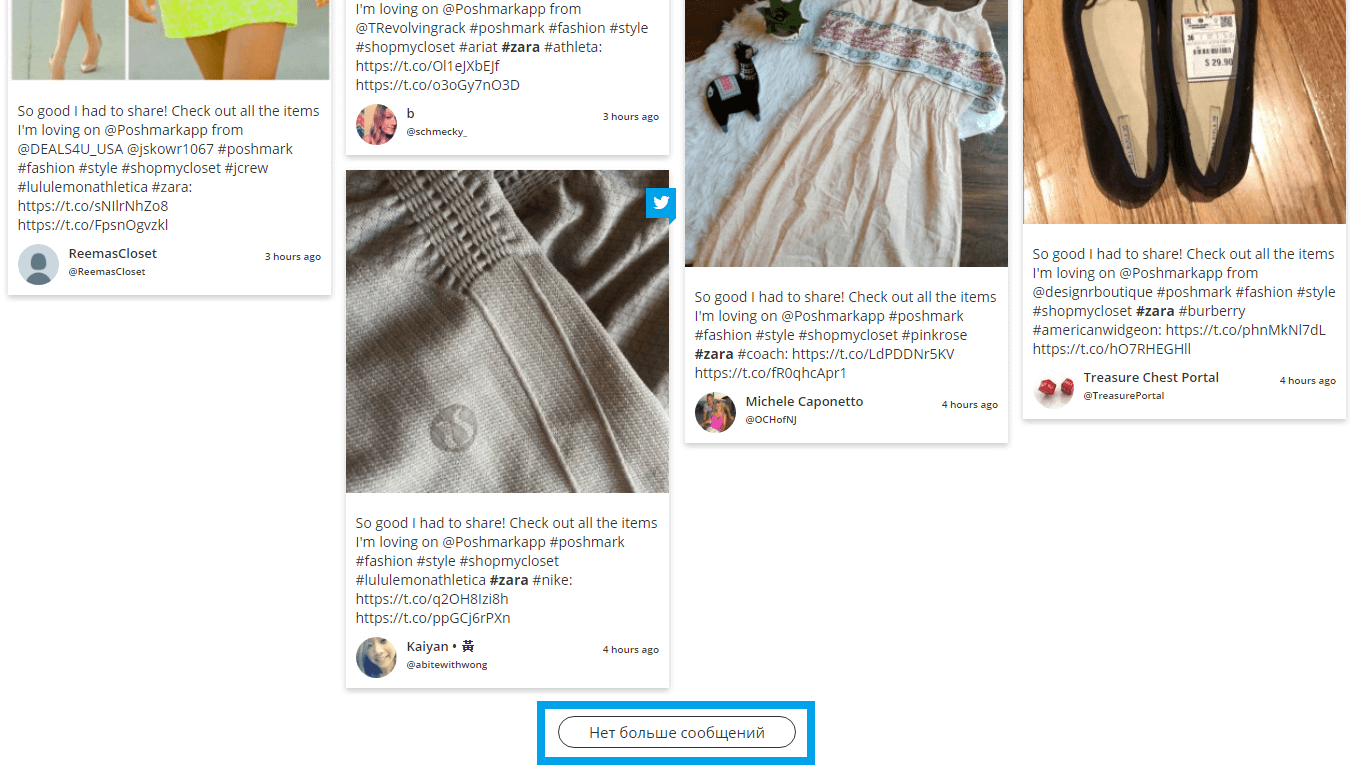
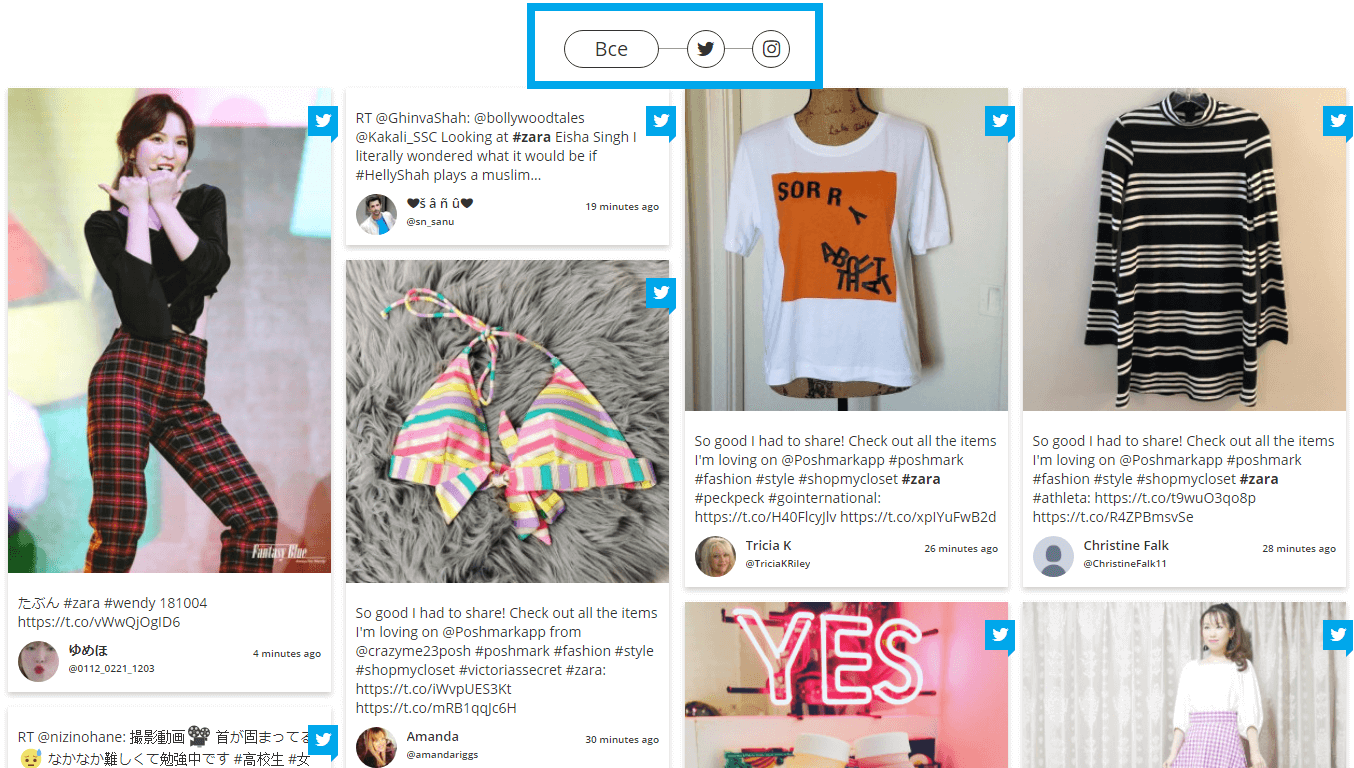
How the changed language looks like:
Show More
No More Posts
View On
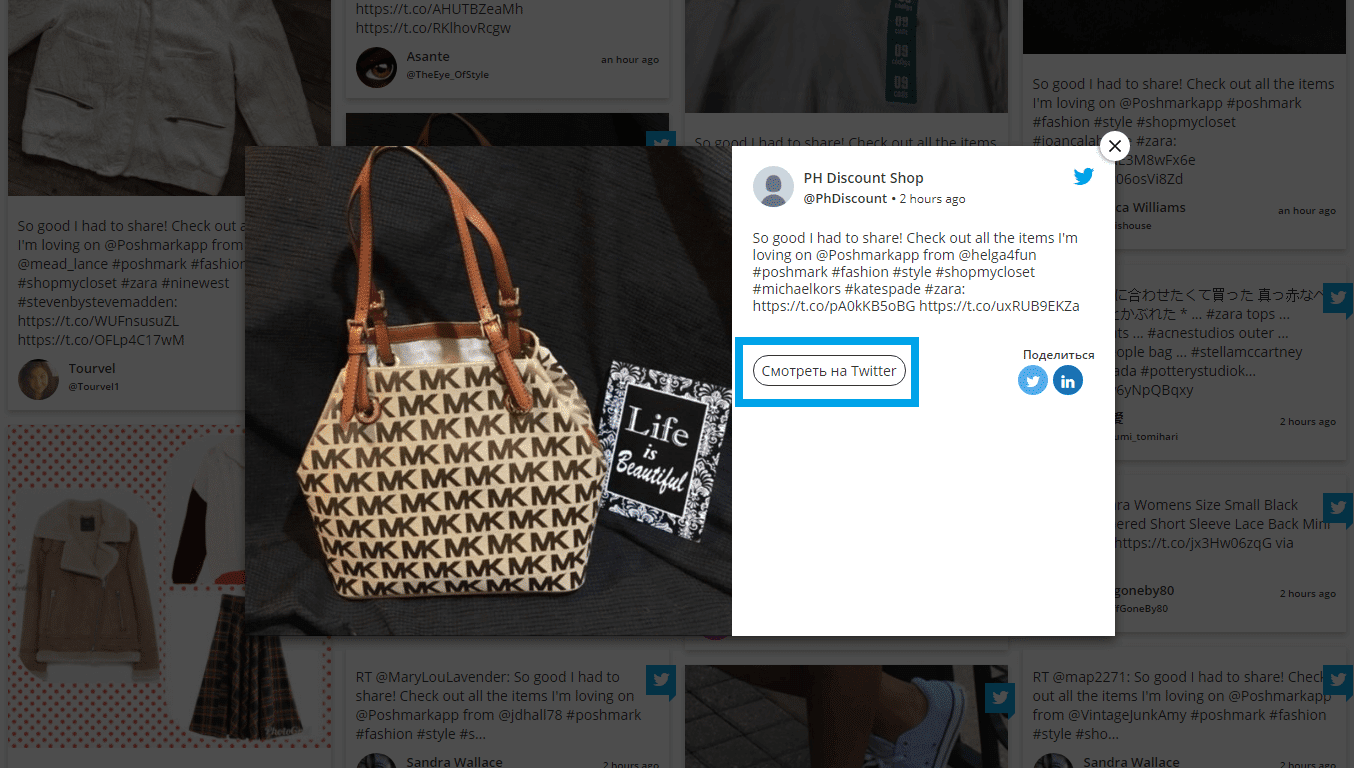
Share

All
If you face any additional issue then please feel free to Contact us or write us at [email protected].